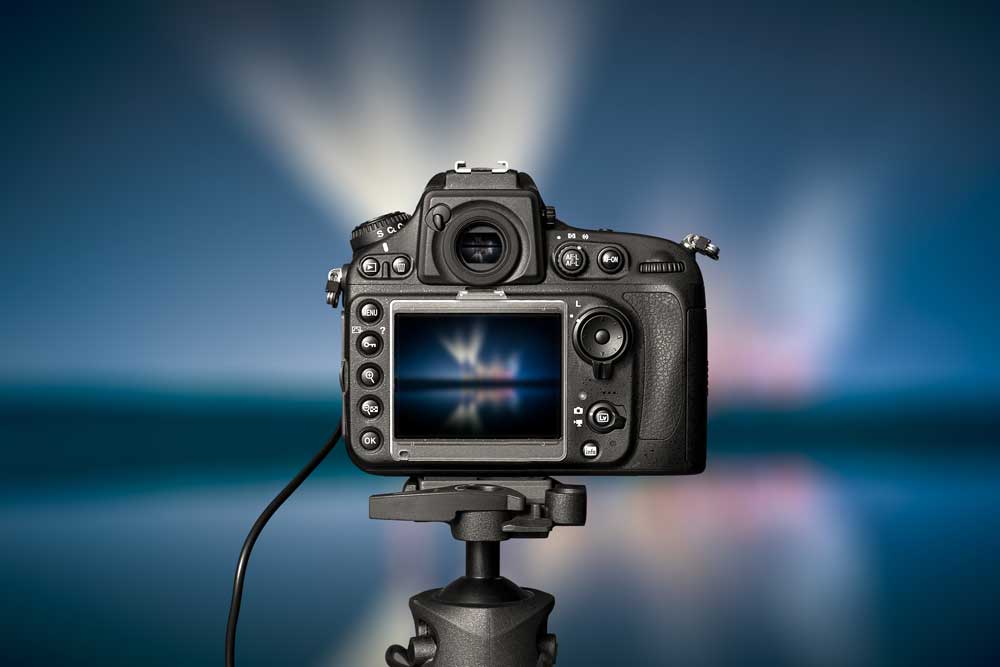
In the final part of our Northern Lights blog series, Dr. Robin Catchpole shares his expert tips and advice for photographing the spectacular Aurora Borealis.
How to photograph the Aurora
Firstly, whatever you decide to do, forget your camera for a while and spend time at peace, just looking and absorbing the beauty. Don’t worry, someone else will have got some great pictures! But of course we want our own.
Today’s digital cameras are versatile and sensitive, making it very easy for you to make some impressive aurora pictures. Your camera also makes a sensitive aurora detector. If you are unsure, point it at the sky and expose for a few seconds and look and see if there is any green in the picture. You don’t even need a tripod to do this.
The ideal situation is to have a fully controllable camera on a tripod but if you only have a simple point and shoot, see if it has any night-time options, prop it up or lay it flat on the ground and start the exposure using the self-timer. If you can, switch off the ‘flash’.
Here is a list of suggestions, based on my own and others experiences, for those with more sophisticated cameras.

Preparing the Camera
- Remove the front Filter. Many people keep a flat filter on the front of their lens to reduce UV and protect the lens. Because the auroral light is monochromatic, the parallel faces of the filter will cause fringes to appear.
- Use a wide angle (Short focal length) lens.
- Set the lens to the widest aperture. This gathers the most light. You may wish to experiment and close the aperture slightly to improve crispness, depending on the quality of your lens.
- Set Auto Flash Off. This also avoids loosing friends!
- Set ‘White balance’ to ‘daylight’.
- Set the ISO value to between 200 and 800. If you are using a tripod, there is no need to go to high values and compromise quality, as you can increase the exposure.
- Exposure time. Start with 5 and 2 seconds and have a look.
- No Video. Unless you have a specialist camera, or the aurora is very bright, your camera will not be sensitive enough to record video.
Taking the picture
- Use a tripod and start the exposure with the timer or remote control to minimise vibration.
- Set the focus manually. Auto focus will not work. So just before you start focus on a distant tree or the moon. Don’t rely on the infinity setting on the lens.
- Compose the picture to include foreground detail that will provide context.
- Shoot first, think later. The auroral display may not last long so take a few pictures before looking at the results and adjusting exposure and aperture.

The aurora seen North of Kirkenes, 3 January 2016. Taken with a Sony alpha 6000, using a 16mm lens with a fish-eye convertor. Effective focal length 10mm (15mm 35mm frame), effective aperture f/3.3, exposure 13 seconds, ISO 800. The exposure time, aperture and ISO, provide a useful guide for your own images. Note the presence of stars in the picture.
Image courtesy Robin M Catchpole.
Afterwards
- Put the camera in a plastic bag. This will prevent condensation as the camera warms back up to room temperature. Wait a few hours.
- Don’t, as I did, burn your fingers on the now sub-zero tripod, use gloves.
General Remarks
If you are going to be outside for hours and temperatures are below -20C, then you will have to think about battery performance. Make sure you have spare batteries and keep them warm in your pocket. Turn down the LCD display brightness to conserve battery energy. If there are long periods of inactivity take out the battery and warm it and warm the camera, but avoid condensation.
Feeling inspired? Join us on the trip of a lifetime on Arctic Explorer – Quest for the Northern Lights by clicking here.
This article was written as part of a blog series. Read more from Dr Robin Catchpole below:
1. What causes the Aurora Borealis?
2. When and where is best to see the Aurora Borealis (Northern Lights)?


